|
Extrude the edges
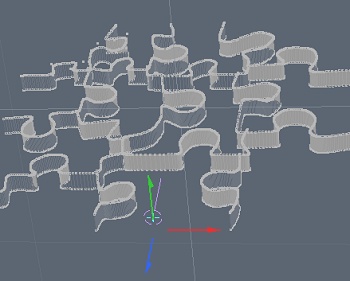
Next, we need to stencil our edges into our puzzle plane, so we can first extrude the curves on the Y-axis to get some depth. Extend will NOT work here since it works only on the control points and not on the smooth mesh of the curve.
Setup the stencil layers
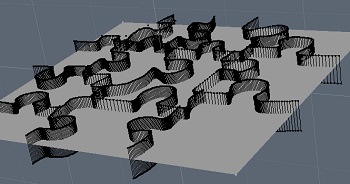
Stencil into the plane by putting the plane in the background layer with the newly extruded edges overlaying it. You may need to move the edges or plane up or down to ensure they overlap each other. |
|
Stencil
Perform a stencil boolean from the menu:
Geometry -> Boolean -> Solid Drill... Stencil
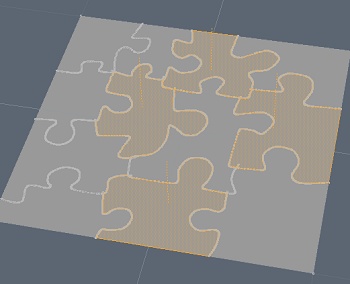
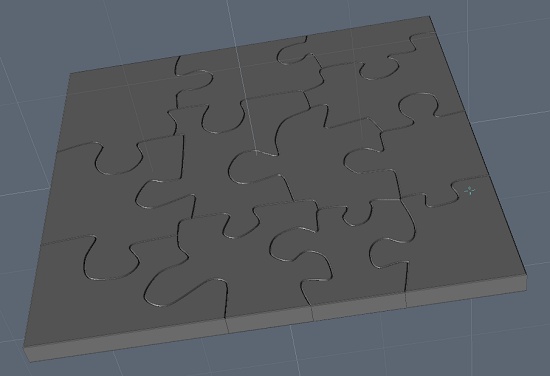
You should end up with a nice flat puzzle. If you properly overlapped all the edges, your will also have each of the pieces as polygons since the edges cut through each other when you make the stencil. |
|
Remove stray points
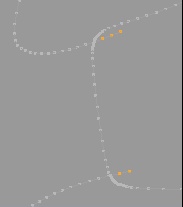
Select the stray points that overlap each puzzle piece and delete them. Each of your curves will have have these at each end (exept outside your puzzle of course).
Create your piece layers
You need to put your pieces into separate layers now so they can be extruded and kept attached to only there own surface polygon. You don't want the edges to join between pieces again. |
Extrude your puzzle pieces
Select all your layers and give them some depth by extrude all the pieces.
Bevel the surface polygons on each piece
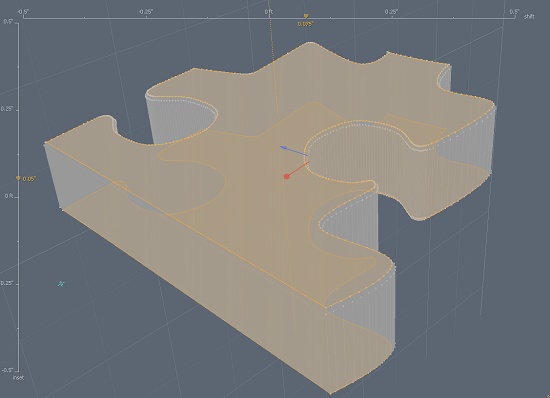
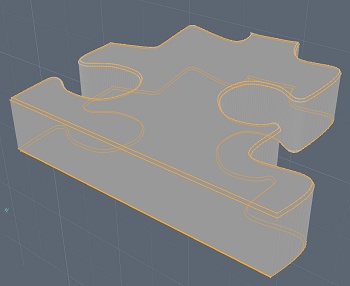
Now, we need to start smoothing out the pieces so we want to have some bevelling on the edges. Select the face polygons of each piece, select the back faces as well if you want them to ahve the same smooth bevel.
Your bevel should have a inset and shift about equal. A small bevel will be suttle with less problems on the overlapping and high vertex count corners.
Note: Often, while using the bevel tool with in inset, the inset edge will have overlapping points. These can be removed manually afterward to unwrap the corners and bevel edges or often it helps to reduce the number of points on inside corners so they do not overlap as quickly when you add the inset bevel. Also, you cna perform the bevel on all pieces at the same time if you wat them all the be identical without need to preset the toolpipe or write down your bevel settings.
|
Edge Boundary

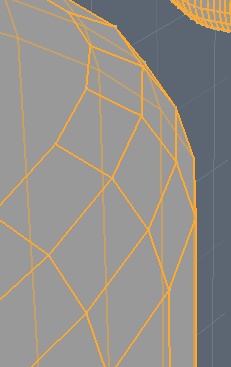
Next we want to have the edges a little smoother, so select the edge boundary from the selection bar, by CTRL clicking on it. This converts your selected polygons to the boundary edges to save you having to reselect all these.
You also need the next edge loop selected beside the main face polygon so SHIFT-Left Arrow to add the next edge loop to the selection. Then SHIFT-Right Arrow a few times to move back the other direction and get the other side's next edge loop selected. |
|
Smoother Bevel
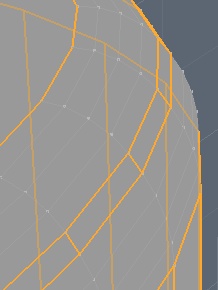
Finally, we need to smooth out these edge loops more so we can now bevel the selected loops. Bevelling the edges will add geometry for a more detailed round edge. The bevel follows the existing contour so will provide a nice round bevel.
You can set the round level according to the amount of detail you want. The left side shows bevelling at 0 and at 2.
Note: You may have to fix some overlaps on the polys after the bevel to correct the drawing on the N-Gon flat surface poly. |

That should leave you with a nice looking puzzle with all the edges smoothed and each piece in its own layer, ready to be animated.
|


